
When I saw Rachel’s button up hack of the Shameka Top just after the pattern launch I knew I had to reach out to see if she would write a guest blog post. And she said yes!!! So without further ado, here’s Rachel’s – aka jacksewn_tn – blog post on how to achieve this look. Rachel uses a Butterick pattern that she had in her collection to help with the collar shaping. You could replace this pattern with any pattern from your collection that has a collar.

When I saw the Shameka top, I instantly fell in love with those sleeves. I love a good statement sleeve, and I love button-up shirts in general. So naturally, I knew that I had to make this top in a button-up version. Today I’m going to share with you how I accomplished this – let’s get started!

PATTERN PREP:
For this hack, I used a tried-and-true button-up pattern that I already know fits me well. For me this pattern is Butterick 5526. You will need the following pattern pieces:
- placket (can be drafted easily if you don’t have a pattern piece for this)
- collar stand
- collar (optional– see below about re-shaping a collar piece if a different shape is desired)
- Corresponding front and back pieces to adjust the neckline.
What I love about the Shameka Top is that there are so many opportunities for creating a style that’s all your own! Since I’m making view A, I used pattern pieces 1 (front bodice), 2 (back bodice), and 3 (sleeve band). You will not need the neck binding piece from the Shameka pattern.


CUTTING/ INTERFACING:
Start by cutting out your back pieces. Now you’ve got a decision to make; whether to cut your back piece on the fold, or to cut out two separate back pieces. Butterick 5526 has the back piece cut on a fold – meaning there would be no center back seam – but the Shameka has a center back seam. To retain this distinctive feature, I lined up the Butterick back piece 3/8″ in from the edge of the Shameka back piece (this is to take into account the seam allowance). You’ll then line up the shoulder seams as best you can. Mine don’t match up perfectly, so I drew in a soft curve to connect them. I also have a pretty long torso, so most of my shirts need to be lengthened. You can ignore where I’ve done this, if that’s not something you need.
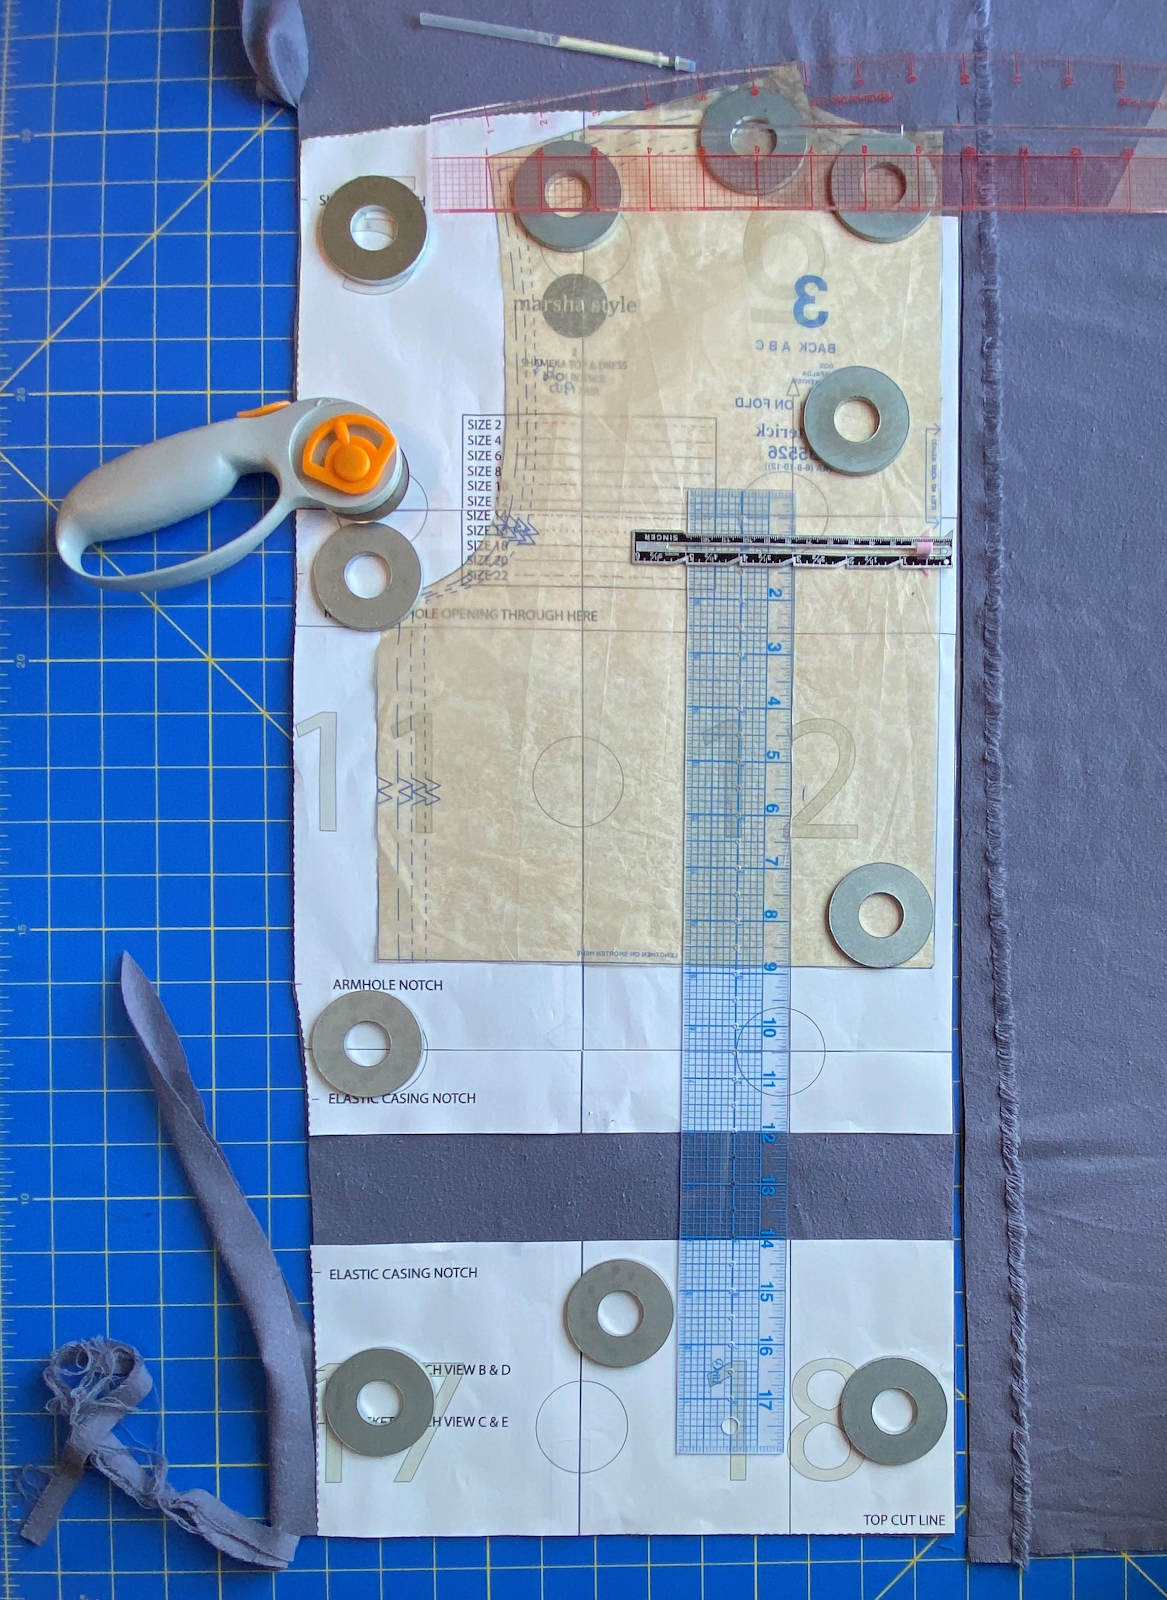
That’s all for the back pieces, now you can move on to the front pieces! The Butterick 5526 pattern has an attached placket piece. On the front pattern piece there is a line indicating where the center front is located. Since the front Shameka piece is meant to be cut on a fold, I placed the Butterick “center front” on the edge of the Shameka piece. The placket piece is 2 1/2″, so if you don’t have a pattern piece for a placket, you can just draw this rectangle off of the front piece. The great thing about doing a placket already connected to the front piece is that you don’t have to worry about pattern matching. You will have perfect matching every time. And just like you did with the back pieces, you need to line up the shoulder seams and draw a soft curve to fill in the gaps where they don’t match up perfectly.

OPTIONAL (NOTE: Skip this step if you don’t want a contrasting fabric for your placket!)
For my second Shameka not only did I want the placket, but I also wanted a placket in a contrasting fabric. If you want to do this too, the first step will be to add 3/8″ seam allowance along the edge of your front pieces and blend the shoulder seams in the way described above. Next you will need to create the placket pieces. These are simply long rectangles. I just took my front piece that was already cut out and traced down the front – the width is 2″ plus 3/8″ seam allowance. I’m not sure if I did the math exactly right, but I can tell you it worked for me. You will need two of these rectangular placket pieces.


Now the hard part is done! Pat yourself on the back because you had to take a lot of different measurements into account when cutting those pieces out.
Next you will need to cut out your remaining pieces:
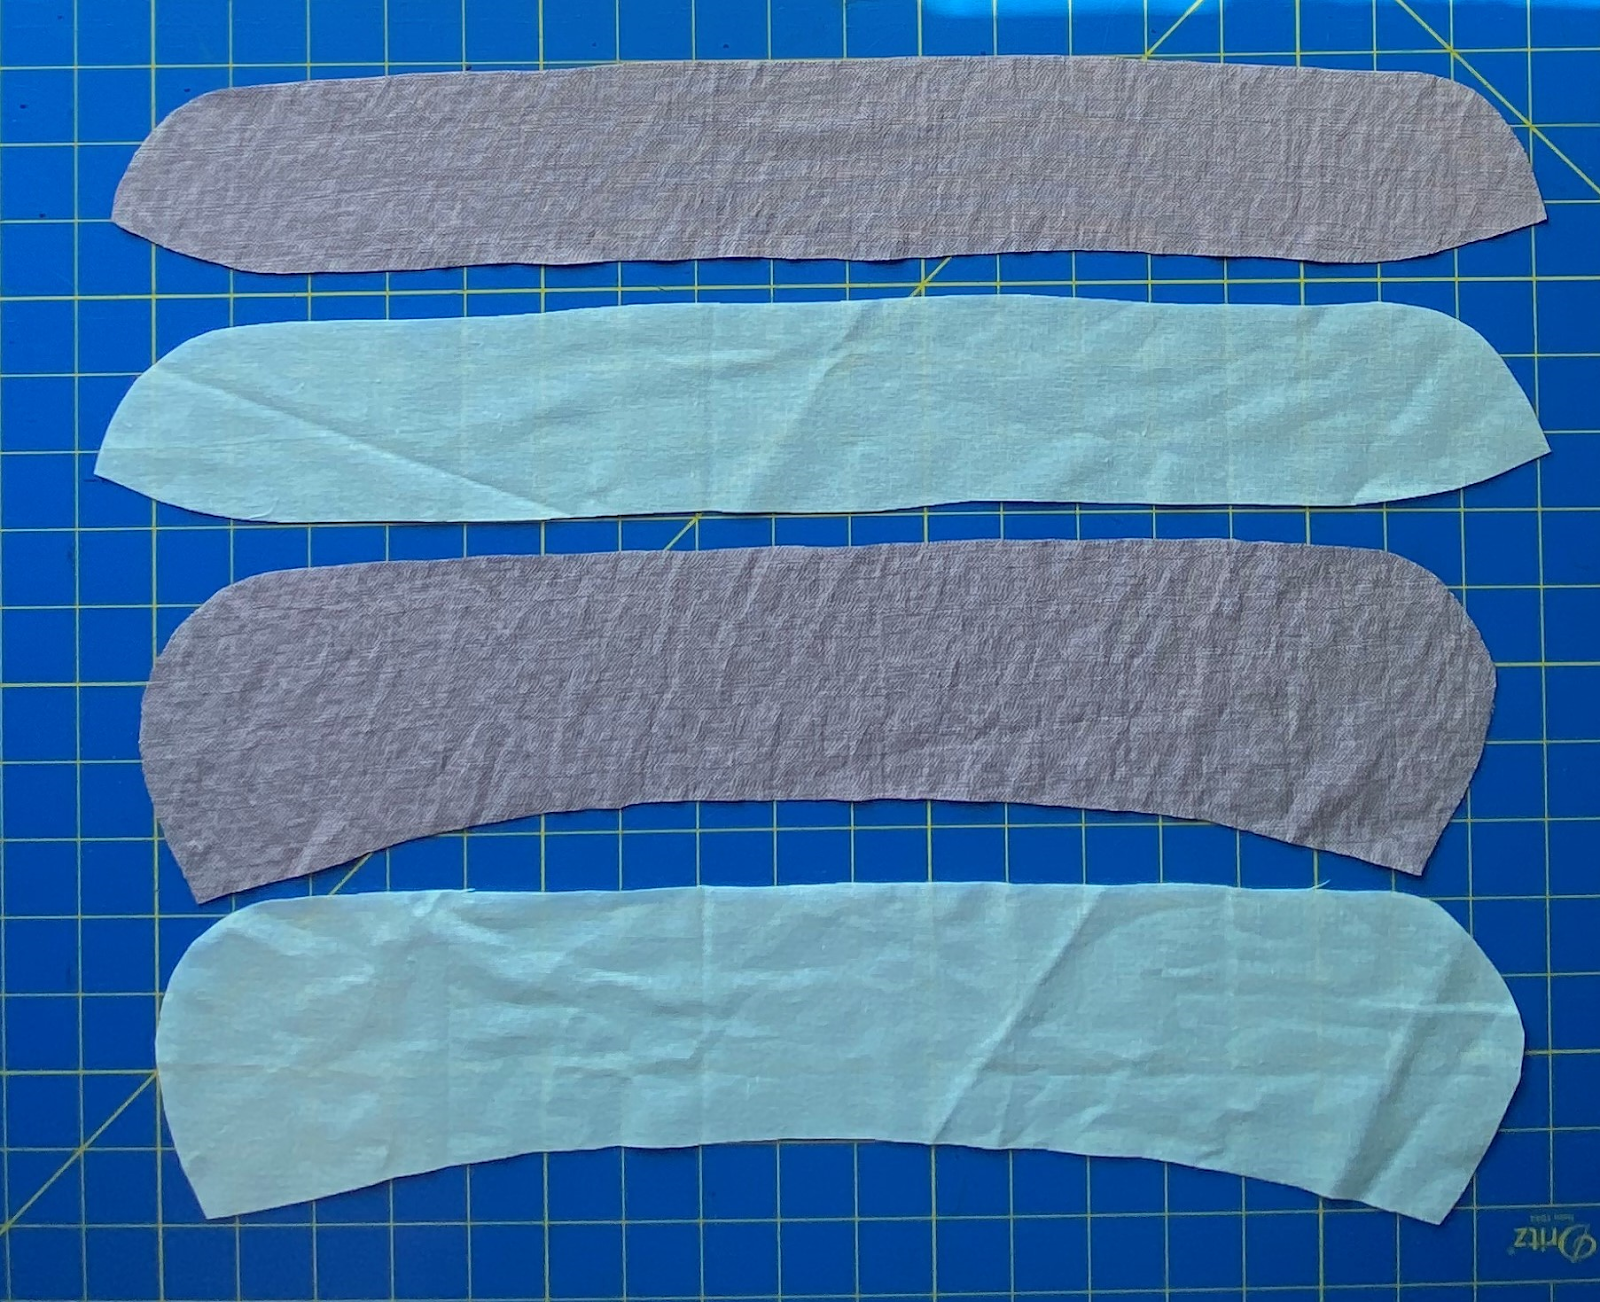
- two sleeve bands
- two collar stand pieces
- two collar pieces (optional)
Depending on the type of fabric you are using you may also want to cut out interfacing pieces for the plackets, collar stand(s), and the collar(s). For the placket, I only interfaced the part of the placket that will face outward after being folded. I cut out a strip that was 1″ wide and the length of my front edge piece. I applied this 3/8″ in from the edge (see photo above). Go ahead and apply all your interfacings now, so that the pieces will be ready when it’s time for them.
ASSEMBLY
Now you’re ready for the fun part… head over to your machine!
Back Pieces
The first step is to sew the back pieces together and then finish the seam allowance. I used french seams to finish all but one of my seams – I serged the sleeve bands once they were attached – and I really like how it turned out. But “you do you” – you should use whatever your preferred method is. If you would like to use french seams, I started by stitching the wrong sides together with 1/8″ seam allowance, ironing the seam to one side, placing the right sides together, ironing the seam flat, and then finally stitching a 1/4″ seam allowance. This enclosed the 1/8″ seam, and I didn’t need to worry about trimming anything like you would normally do with french seams.
Plackets
Next up is sewing the plackets. If you are doing a placket that is attached to the front piece all you need to do is fold the fabric wrong sides together. You’ll do this twice. The first foldline is 1″ in from the front edge and then you’ll use the edge of the folded part as a 1” guide and fold it again. Then edge stitch both sides of the placket.
OPTIONAL (NOTE: skip this step if you don’t want a contrasting fabric for your placket)
If you’re doing a contrasting placket, you’ll first want to sew your placket to the front piece. This is where it gets a little tricky. You’ll want to attach the right side of the placket piece to the wrong side of the front piece and stitch this with a 3/8″ seam allowance. You’ll then want to iron the seam toward the placket. Fold the placket edge in 1″ towards the front piece, so that the wrong sides of the placket are touching. Then fold the placket one more time in towards the front piece and edge stitch both sides of the placket.


Your placket is now attached!
Side and Shoulder Seams/ Hem
Next you will need to sew the front pieces to the back pieces at the side seams and the shoulder seams. Keep in mind the part in the instructions about where to stop for the side seam.
At this point you can also finish your hem. I like to go ahead and do this since the collar is a little time-consuming, and I like to feel as close to being finished as possible when I tackle that collar. You can follow the instructions for the hem; I just did a simple 1/4″ double-turned hem. Since I have to lengthen most of my shirts, this saves a little on fabric.


It’s really coming together now!
Sleeve Bands
This is my favorite part about this pattern. Just follow the instructions since these sleeves are perfect and nothing about them should be changed.
Collar/ Collar Stand
Next, attach the collar stand.
But first: OPTIONAL (Skip this step if you just want the collar stand and you don’t want a collar attached to the stand)
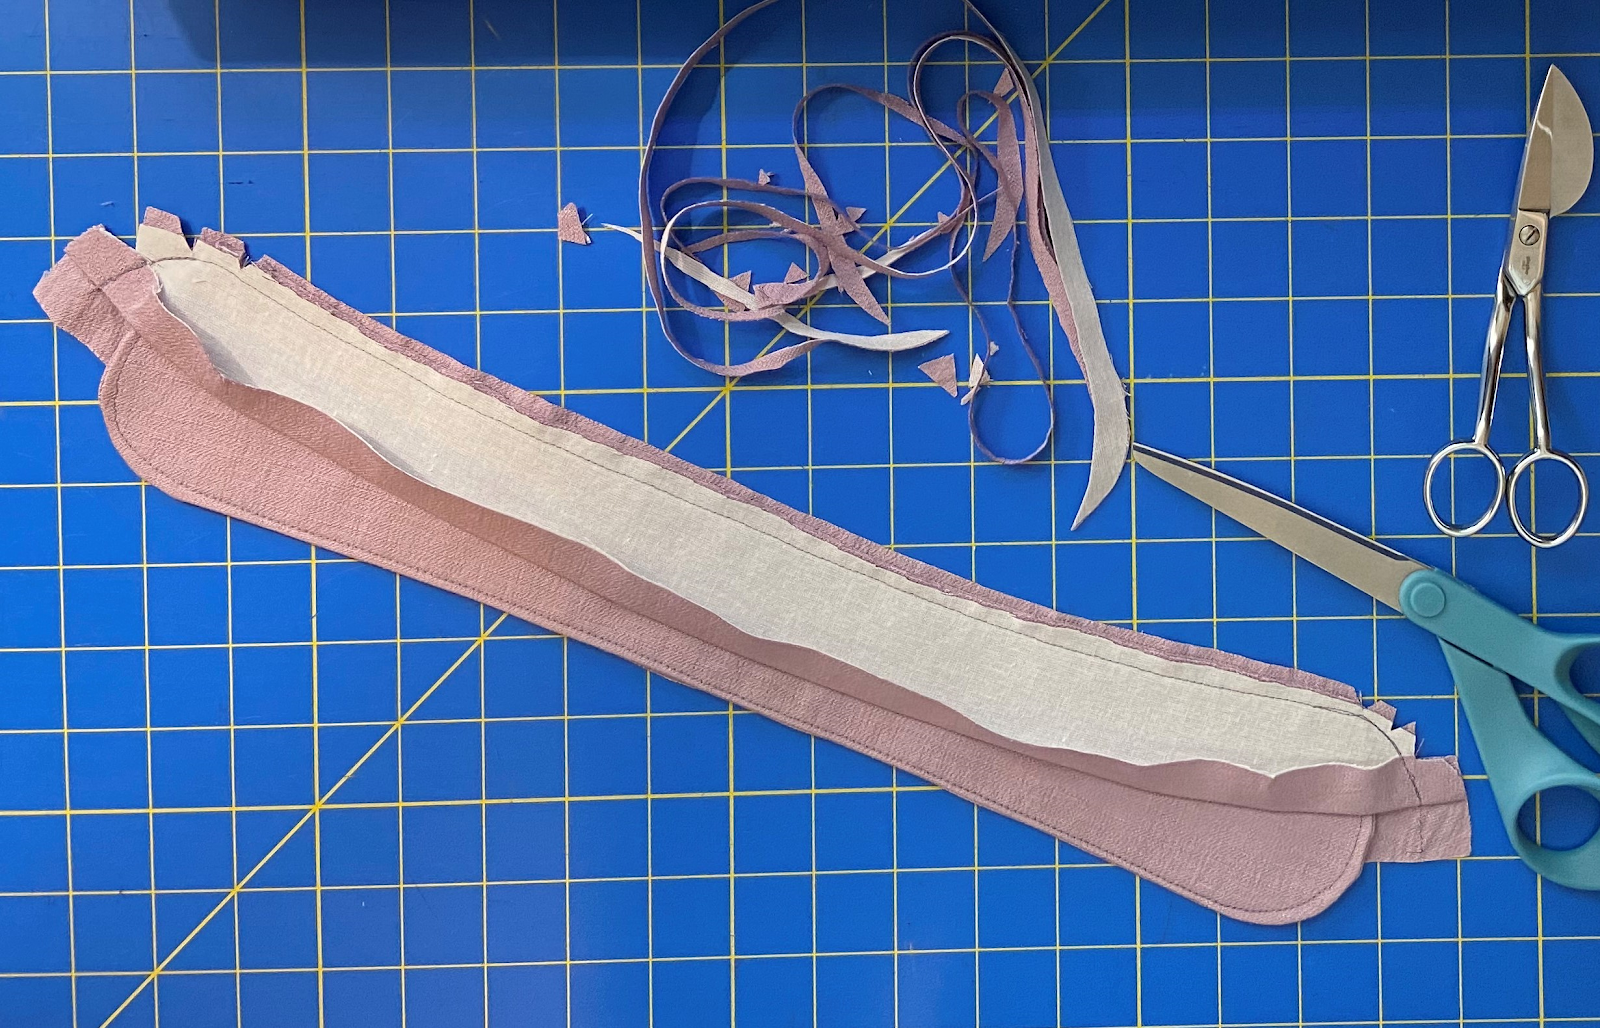
For this version of the Shameka Top, I wanted to add a collar. I used the Butterick collar piece as a starting point, but rounded off the collar points for a softer vibe. You can shape the collar into whatever shape you want as long as you don’t touch the edge with the double notches.
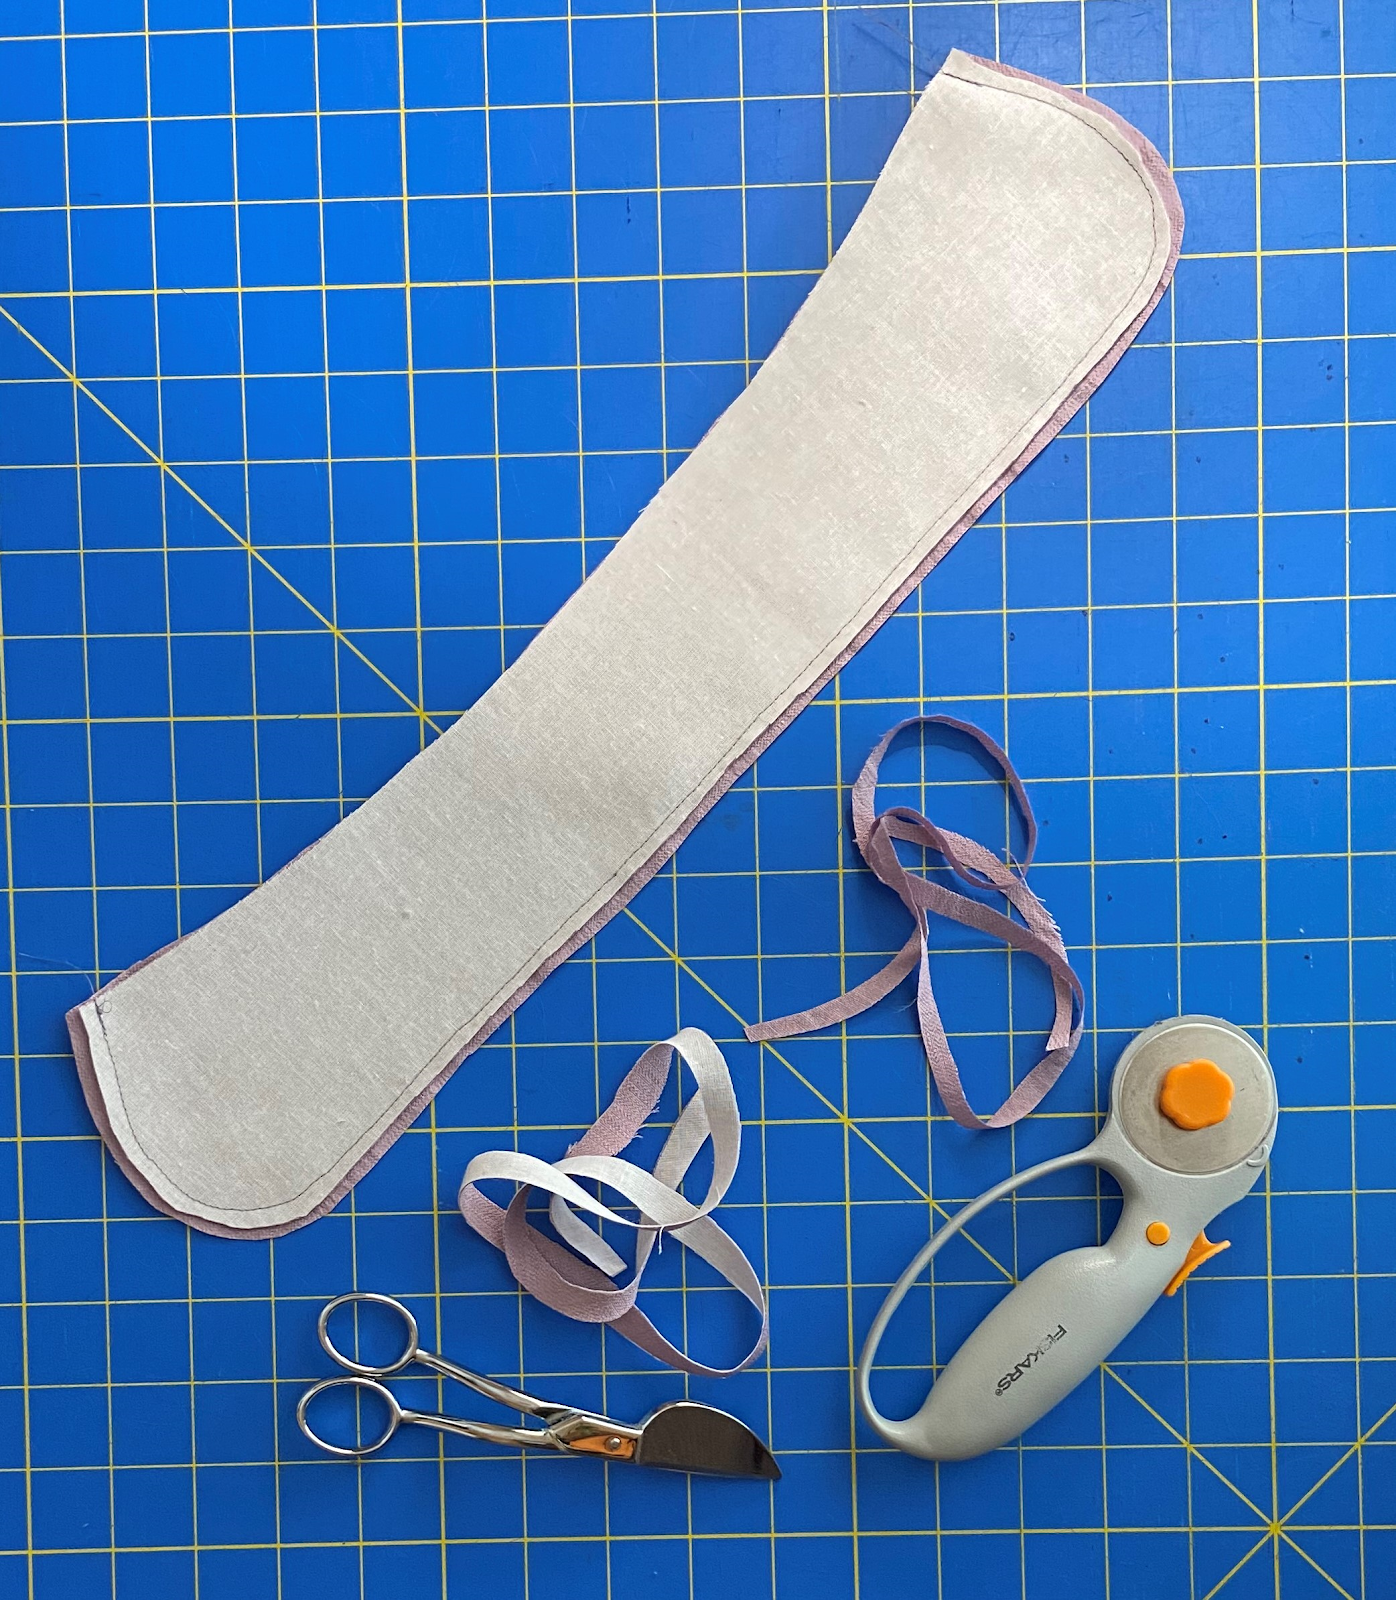
Sew your collar pieces right sides together (the Butterick pattern uses 5/8″ seam allowances, so this is something to check with the pattern you are using). Trim your seam allowances and clip your curves (as needed– if you are making a standard pointed collar, you’ll want to clip the corners). Turn the collar right sides out and press. Baste the bottom edges together and topstitch everything that isn’t basted.

Start here if you just want a collar stand:
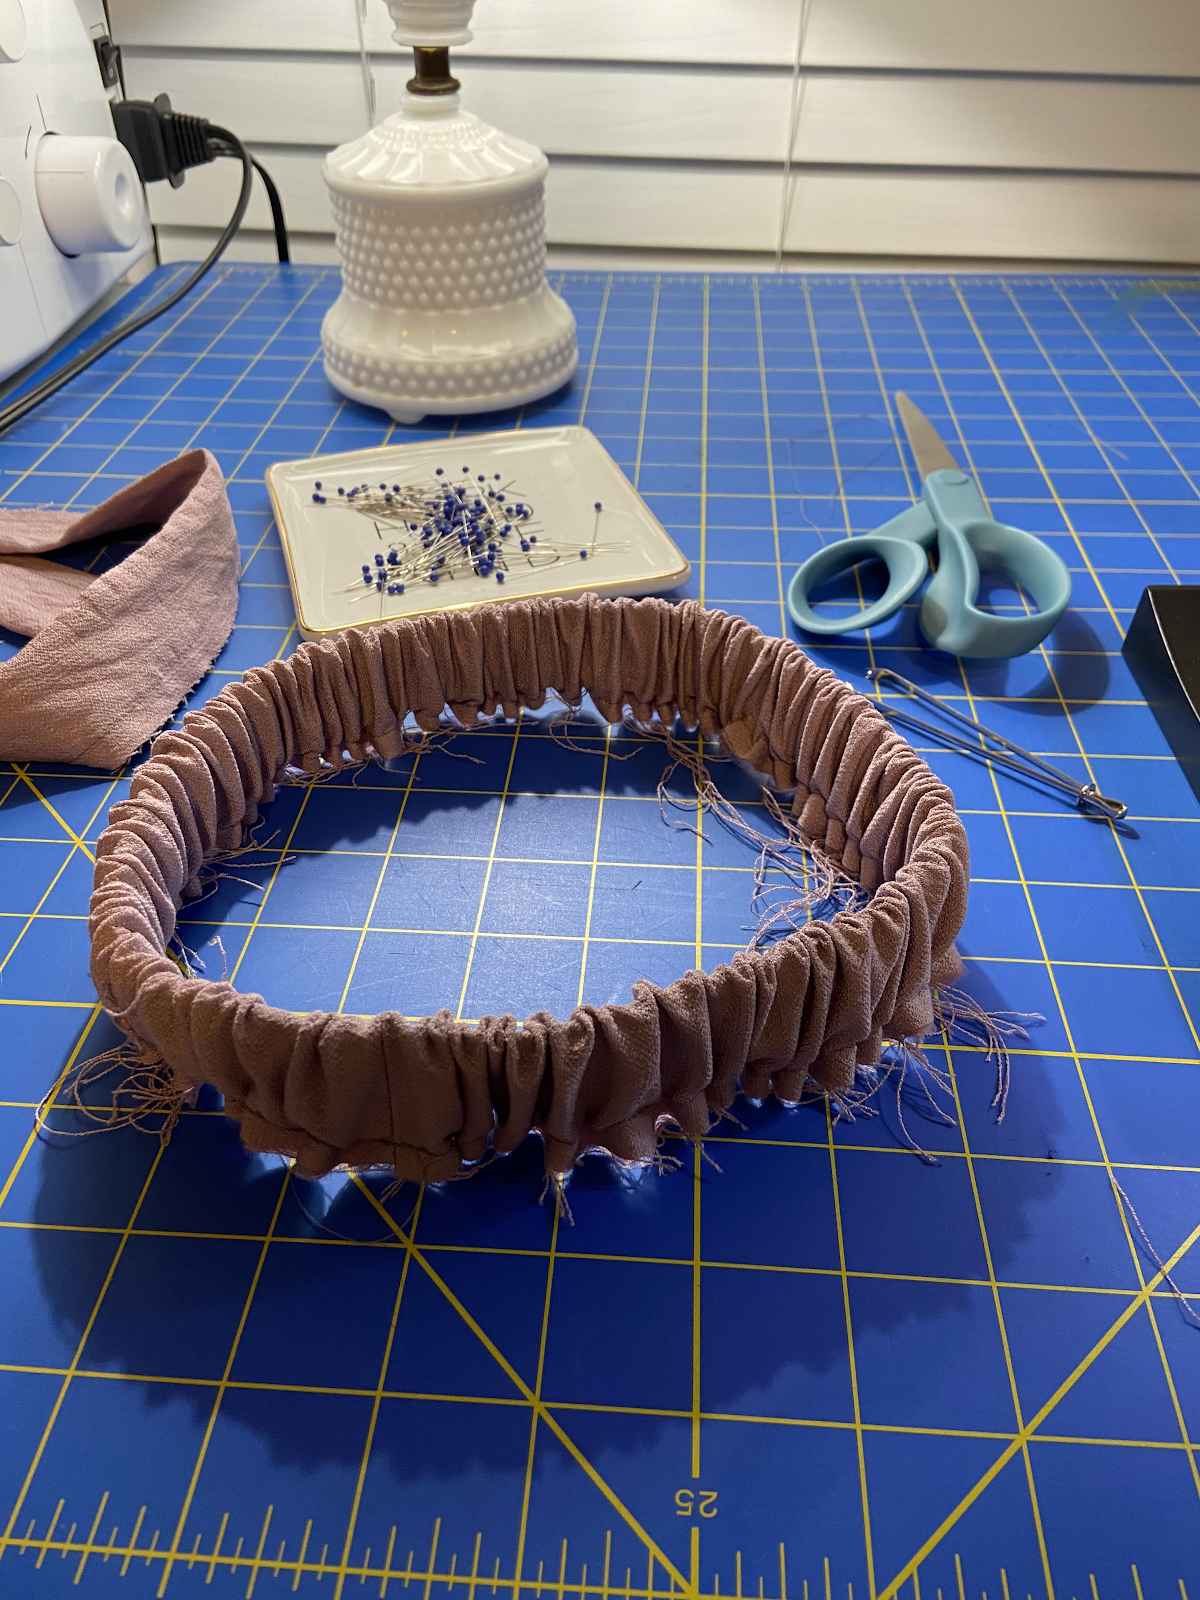
Now take one of your collar stand pieces (the interfaced one if you used interfacing) and fold up the seam allowance wrong sides touching on the flatter edge (see below). Then place your collar stand pieces right sides together and sandwich the collar in between them, if you are attaching a collar. Now stitch along the curved edge, as shown below. Again, you will want to trim your seam allowances and clip the curves of the collar stand. Flip your collar stand pieces right side out and give it a good press.

You’re now ready to attach the collar stand! First a little prep for the neckline: staystitch and clip the curves. This will help avoid a stretched out neckline and, depending on your fabric, it will be easier to attach the collar stand.
With right sides together take the collar stand that doesn’t have the seam allowance folded under and pin it to the neckline. You’ll want to line up the edge of the placket with the edge of the collar stand. Sew 5/8″ seam allowance and iron the seam away from the shirt body. Again, trim seams and flip the collar stand so that the wrong sides are touching each other. Here is where you’ll use the seam allowance that has been ironed under. You want to line up the edge of this fold just below the line of stitching where you attached the collar stand. Pin on the OUTSIDE of the collar stand because you’re going to “stitch in the ditch” (stitch directly in the middle of the seam). After you have done this, edge stitch all around the collar stand. Now give it a really good press.


Lastly you’ll want to make your buttonholes and add buttons!

You’ve just completed this Shameka hack; a sophisticated, yet playful button-up (in my humble opinion). Thanks for reading along and good luck with your version. I hope you have found this tutorial useful – many thanks to Taree for asking me to contribute and being so enthusiastic about the sewing community sharing their ideas!


